DOM vs. Cold-Drawn Welded Tube: Understanding the Manufacturing Difference
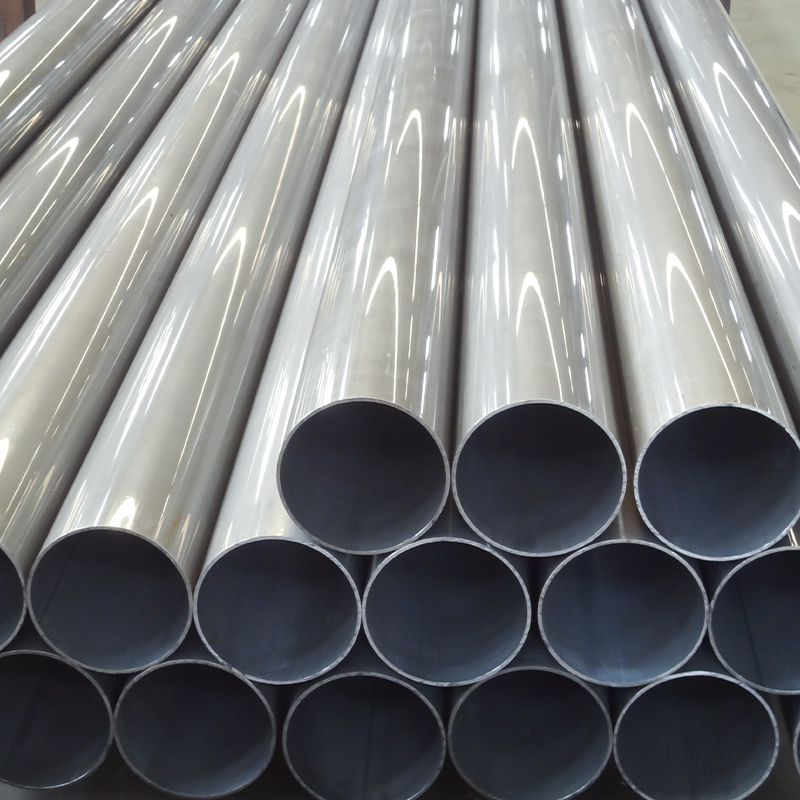
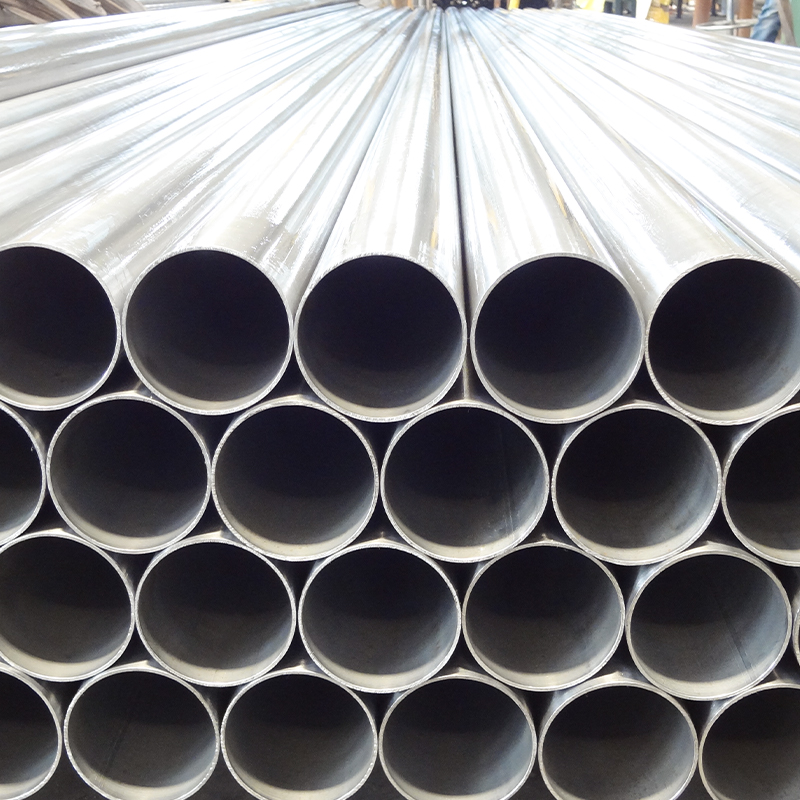
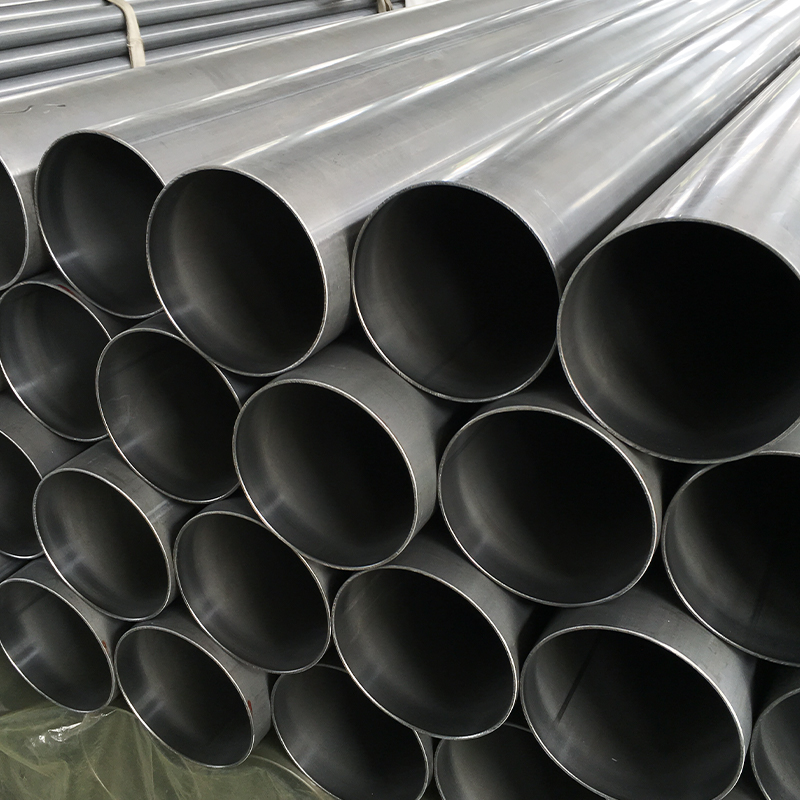
Many buyers confuse DOM (Drawn Over Mandrel) tubing with standard cold-drawn welded tubes, but the manufacturing processes differ significantly. DOM tubing starts as an electric-resistance welded tube that is then drawn over a mandrel to remove the weld seam internally, creating a nearly seamless finish. In contrast, cold-drawn welded tubes retain the weld seam throughout processing, though advanced manufacturing can make it virtually undetectable.
The key distinctions include:
- Wall thickness uniformity: DOM tubes typically achieve ±5% tolerance, while premium precision cold drawn welded tubes can reach ±3-5% depending on specifications
- Internal surface finish: DOM provides superior internal smoothness (Ra 0.8-1.6μm), ideal for hydraulic applications requiring minimal flow resistance
- Cost considerations: Cold-drawn welded tubes generally offer 15-25% cost savings while maintaining excellent mechanical properties for structural applications
- Application suitability: DOM excels in high-pressure hydraulic systems, while cold-drawn welded tubes are preferred for automotive chassis, furniture frames, and general mechanical structures
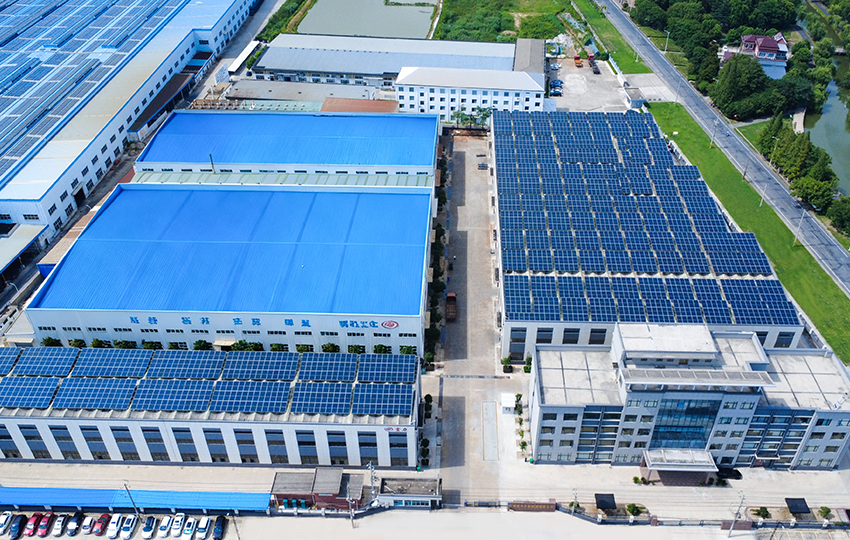
At our facilities, we employ multi-pass cold drawing with precision mandrels and advanced heat treatment protocols to ensure our welded tubes deliver performance comparable to DOM in many applications, giving our clients exceptional value without compromising quality.
Critical Tolerances: How Precision Affects Your Assembly Efficiency
Dimensional precision directly impacts manufacturing efficiency. A DOM steel tubing with inconsistent outer diameter or wall thickness creates assembly challenges, increases rejection rates, and raises total production costs. Understanding tolerance grades helps buyers specify the right product for their application.
| Tolerance Grade |
OD Tolerance |
Wall Thickness Tolerance |
Typical Applications |
| Standard |
±0.20mm |
±10% |
General structures, furniture |
| Precision |
±0.10mm |
±7.5% |
Automotive parts, hydraulic cylinders |
| High Precision |
±0.05mm |
±5% |
Precision machinery, medical equipment |
| Ultra Precision |
±0.03mm |
±3% |
Aerospace, high-precision instrumentation |
Common tolerance grades for cold-drawn precision steel tubes
Real-world impact: For a hydraulic cylinder manufacturer using 50mm OD tubes, improving tolerance from ±0.20mm to ±0.10mm can reduce machining time by 30-40% and virtually eliminate assembly interference issues. Our online dimensional monitoring systems track every tube in real-time, ensuring batch consistency that keeps your production line running smoothly.
Heat Treatment Selection: Matching Mechanical Properties to Load Requirements
Specifying the correct heat treatment is essential for optimizing tube performance. Different applications demand different mechanical property combinations, and improper heat treatment can lead to premature failure or unnecessary material costs.
Common Heat Treatment Options
- As-drawn (cold-worked): Highest strength (tensile strength 600-750 MPa), but limited ductility; suitable for low-deformation applications like structural frames
- Stress-relief annealing (500-650°C): Reduces internal stress while maintaining 80-90% of cold-worked strength; ideal for tubes requiring subsequent machining or welding
- Full annealing (680-720°C): Maximizes ductility and machinability (elongation 25-35%), preferred for complex forming operations
- Normalizing (880-920°C): Balances strength and toughness; commonly specified for mechanical components subject to dynamic loads
- Quenching + Tempering: Achieves optimal strength-toughness combination (tensile strength 800-1200 MPa); essential for high-stress applications like hydraulic systems and automotive suspension components
Selection Guidelines
For static structural applications, as-drawn or stress-relieved tubes typically suffice. For cyclic loading conditions (vibration, shock, repeated pressure fluctuations), normalized or quenched-tempered conditions significantly extend service life. For secondary forming operations (bending, flaring, expansion), full annealing prevents cracking and achieves tighter bend radii.
Our heat treatment facilities use computer-controlled furnaces with precise atmosphere regulation and cooling rate management, allowing us to customize mechanical properties to your exact specifications—whether you need a single property target or complex multi-zone treatments.
Surface Finish Impact on Corrosion Resistance and Fatigue Life
Surface finish affects more than aesthetics. Surface roughness directly influences corrosion resistance, fatigue strength, and friction characteristics in assembled systems. Selecting the appropriate surface treatment requires understanding both environmental conditions and mechanical stress patterns.
Surface Roughness and Fatigue Performance
Research shows that reducing surface roughness from Ra 3.2μm to Ra 0.8μm can improve fatigue life by 40-60% in cyclic loading applications. Surface irregularities act as stress concentrators where fatigue cracks initiate. For components subject to vibration or repeated loading cycles—such as automotive suspension tubes or machinery linkages—specifying finer surface finishes provides measurable reliability improvements.
Corrosion Protection Options
- Phosphate coating: Economical baseline protection (96-240 hours salt spray resistance); enhances paint adhesion and provides temporary storage protection
- Zinc plating (5-15μm): Extended outdoor protection (240-500 hours salt spray); suitable for moderately corrosive environments
- Chrome plating: Superior hardness and wear resistance; ideal for hydraulic cylinder rods and precision guide shafts
- Electroless nickel plating: Uniform coating thickness even on complex geometries; excellent for components requiring both corrosion protection and dimensional precision
- Black oxide: Minimal dimensional impact (coating thickness <1μm); primarily aesthetic with limited corrosion protection unless oil-treated
Cost-performance consideration: Zinc plating adds approximately 8-12% to tube cost but can extend service life by 3-5 times in coastal or industrial atmospheres. For interior applications with controlled humidity, phosphate coating or even bare bright-annealed finish may suffice, reducing unnecessary processing costs. We maintain complete surface treatment lines in-house, ensuring quality control and delivery flexibility that external coating vendors cannot match.
Straightness Standards: Why 1mm/m Matters in Precision Assembly
Tube straightness is frequently underspecified yet critically impacts assembly efficiency and final product performance. Excessive bow or waviness creates alignment problems, increases welding difficulty, and can compromise structural integrity in load-bearing applications.
Industry Straightness Classifications
- Standard grade (≤2.0mm/m): General construction and low-precision applications
- Precision grade (≤1.0mm/m): Automotive components, machinery structures, furniture manufacturing
- High precision grade (≤0.5mm/m): Hydraulic cylinders, precision guide rails, robotic components
- Ultra precision grade (≤0.3mm/m): Aerospace applications, high-precision instrumentation, optical equipment supports
Practical Assembly Impact
Consider a 6-meter tube used in automated assembly: a straightness deviation of 2.0mm/m results in 12mm total deviation, requiring significant force or fixturing to align. Improving to 0.5mm/m reduces total deviation to 3mm, enabling automated insertion with minimal adjustment. For manufacturers running high-volume assembly lines, this difference directly translates to cycle time reduction and lower rejection rates.
Our multi-stage straightening process includes rotary straightening and precision roller straightening, followed by automated laser measurement on every cold-drawn welded steel tube. This ensures consistent straightness that eliminates assembly surprises and keeps your production schedules on track.
Material Selection Beyond Carbon Content: Alloy Elements and Application Performance
While carbon content determines baseline strength, alloying elements significantly influence weldability, machinability, hardenability, and corrosion resistance. Understanding these relationships helps buyers select optimal materials for specific operating conditions.
| Alloy Element |
Primary Effect |
Recommended Applications |
| Manganese (Mn) |
Improves strength and hardenability |
General structural tubes, gears, axles |
| Chromium (Cr) |
Enhances wear and corrosion resistance |
Hydraulic cylinders, bearing races, tools |
| Molybdenum (Mo) |
Increases high-temp strength and toughness |
High-stress components, elevated temperature service |
| Nickel (Ni) |
Improves toughness and low-temp performance |
Cold climate equipment, impact-loaded parts |
| Sulfur (S) |
Enhances machinability (free-cutting steels) |
High-volume machined components, fittings |
Common alloying elements and their functional contributions
Material Grade Selection Examples
For welded assemblies: Low-carbon grades (C ≤0.25%) such as STKM11A, ST37, or 1020 minimize weld cracking risk and reduce preheating requirements. High-carbon grades require careful welding procedures and post-weld heat treatment to prevent brittle heat-affected zones.
For machining efficiency: Free-cutting steels (11SMn30, 12L14) containing controlled sulfur levels improve chip breaking and allow 30-50% faster machining speeds, reducing manufacturing costs for fitting-intensive assemblies.
For wear-critical applications: Chromium-molybdenum alloys (4130, 4140) achieve surface hardness of HRC 50-58 after heat treatment, extending service life in abrasive or high-contact-pressure environments by 3-5 times compared to plain carbon steel.
With over 200 steel grades in our production portfolio and complete chemical analysis capabilities, we help customers navigate material selection complexities to optimize both performance and total cost of ownership.


 English
 Español
 русский
